
Skill Level: Intermediate
Tools & Supplies:
- MySawgrass+ Subscription
- SG500 or SG1000
- VersiFlex Inks
- VersiFlex Light Paper
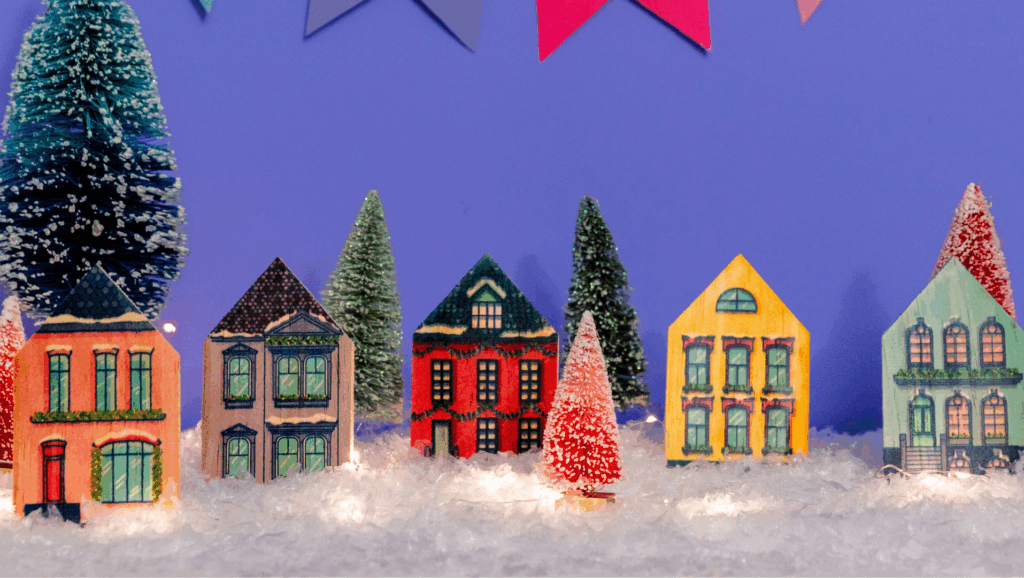
- 5” Mini Wood Houses
- Flat Press
- Blowout Paper
How To Create It:
- Click the DESIGN button on your MySawgrass dashboard.
- Select Custom Canvas: Rectangle 3.125” x 5”
- Select Your Design: Christmas_Village_House_01, Christmas_Village_House_02, Christmas_Village_House_03, Christmas_Village_House_04, Christmas_Village_House_05
- Size to fit canvas.
- Send your ready to design to print utility by clicking PRINT.
How To Print It:
- Select your ready printer loaded with Sawgrass VersiFlex inks.
- Select the Uncoated Wood preset or select Uncoated Wood as the product.
- Load printer with VersiFlex Light paper.
- Click Print.
How To Press It:
- Temperature: 375°F
- Temperature: 30 seconds
- Pressure: Medium
- Position your wood onto the base of your heat press.
- Prepress your wood for 10-15 seconds to release moisture. If you see steam when releasing the press, press again until the steam disappears.
- While the print is still wet, place your print face up on a table or a secure work surface. Place the wooden house face down into the center of the print.
- Carefully flip the wood and print and place it on the base of the press paper side up. Be careful when flipping as wet ink can smear.
- Place a piece of protective blowout paper over your print to protect your heat press from any excess ink.
- Press for 30 seconds at 375°F at medium pressure.
- When the timer sounds, open your press and peel your print immediately. Delayed peeling will cause the paper to stick.
Tips & Tricks
- Cover your wood with blowout paper when pre-pressing to protect your heat press from sap that may be present in some woods.


