The Nozzle Check
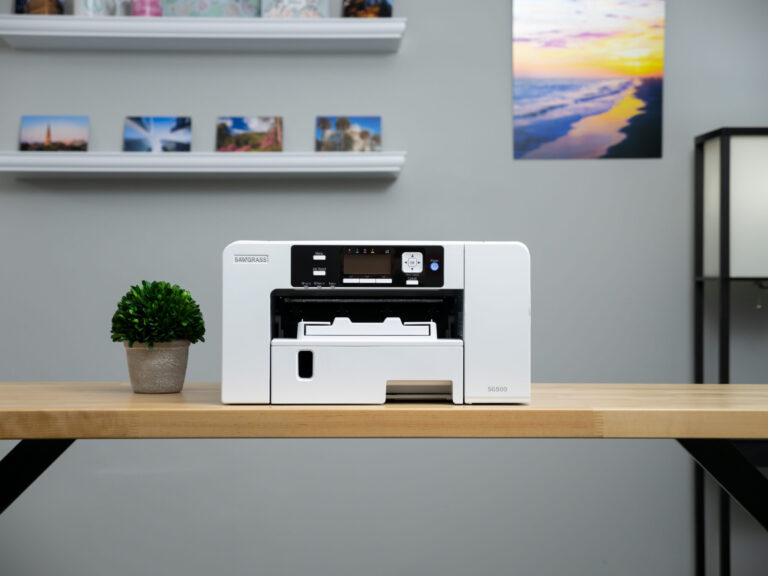
One of the most valuable tools you have for troubleshooting your Sawgrass Printer is the nozzle check. Nozzle checks are a great diagnostic tool to help you get a visual look at the overall health of your print head.
Printing nozzle checks are not a printer maintenance function. You do not need to print them regularly, but they are a great tool when you feel something is off with your prints and you want to rule out clogged nozzles.
However, if you have not used your printer in a while, when you go to use the printer again, it may be a good idea to print out a nozzle check first to make sure your printer is in proper working order. You can also print a nozzle check periodically during times when you aren’t using the printer frequently to push ink through the lines. While the printer does do auto maintenance daily, a print will always use more, even if it is the small amount used for a nozzle check. The other benefit to a nozzle check is that it can be printed on regular copy paper and you do not need to use a sheet of your sublimation paper for the print.
Normally, you’ll want to print a nozzle check if you feel a color is missing from your print. If it seems like the printer isn’t using as much of one of the four inks as it normally does, then it is a good idea to print a nozzle check. You’d also use this tool if there are lines in print that should not be there. Typically, these run from left to right. It just looks like ink should have been in the spot and it is not.
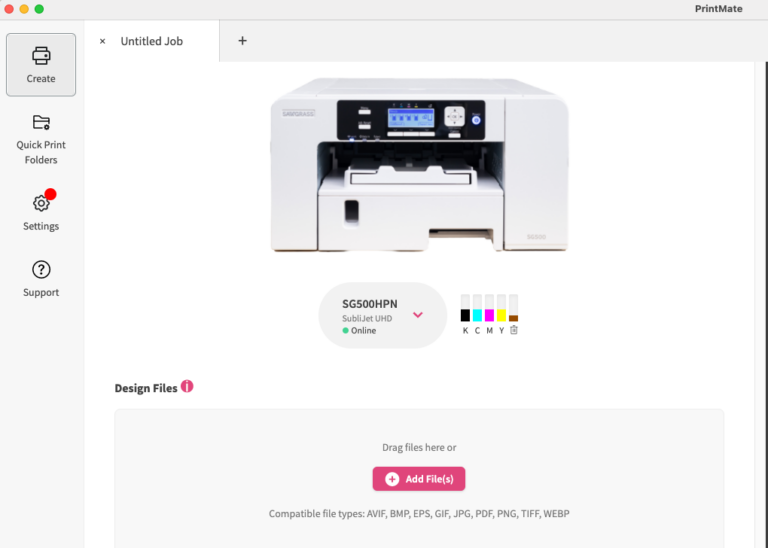
Nozzle checks can be printed from two places: from the printer utilities section of your devices page in the Sawgrass Print Utility or from the LCD panel of the printer itself. To access a nozzle check from the Sawgrass Print Utility, click on Settings from the left menu and then go to the Devices tab. Choose the printer for which you need to complete the nozzle check, and then select Printer Utilities from the bottom of the printer information section. You’ll notice there are two nozzle checks listed. For most situations, the first nozzle check is all that you need. Major clogs will be detected by it and it uses the least amount of ink. If your nozzle check looks fine, but you are still having issues, you can print a nozzle check plus. The difference between the two is that the Plus check pushes ink through even the smallest of holes in the head. While clogs in these fine printing areas are generally not an issue, this will let you know if that is where your problem may be.
To print a nozzle check from the printer, first hit the menu button then the down arrow for printer features, press okay, then press okay again on the List/test print option then down arrow again until nozzle check pattern is highlighted. Press okay again, then the button underneath the word print. From here the printer will then print out a nozzle test pattern.
When this page prints, you should see four different color grids. Each grid will have lines in the middle that are more off set and disconnected, additionally, they may be slightly slanted, and lastly you should see the “tail” on the bottom left side of the grid. Your main goal when printing a nozzle check is to make sure that all your lines in each color pattern are filled in, with none missing. If you have a line missing in any part of your grid, this essentially means you may have a small clog somewhere in your print head. Generally, you will only see misses in one color, but you will sometimes see them in two. It could be one line segment missing, or it may be more depending on how large of a clog you have.
If you ever have missing nozzles generally these can be fixed by performing a head clean. The head clean will push a small amount of ink and try to push it through the print head in attempts to get the missing nozzle to reappear. Head cleans are located in the same area as the nozzle check in the Sawgrass Print Utility and on the printer. With the nozzle check you will also see two sets of numbers, one being above the patterns for both black and cyan, while two being above the grids for yellow and magenta. This is to indicate the sides of the print head that those colors share. With side one hosting black and cyan, and side two with the magenta and yellow channels. With a nozzle check printed out if you have missing nozzle in only one grid, like magenta for examples, then when performing a head clean, you will only need to clean side two of the print head instead of cleaning all heads. Once that head clean finishes, you will then want to print out a second nozzle check so you can compare both sets of grids to check for improvement of the recovered missing lines. If your missing lines are now back and your grids look full and healthy, you can continue printing as normal! If your error is persistent, you can rinse and repeat this process two to three times, if you continue to have issues with your nozzle check patterns, or experience quickly repeated issues, then you will want to contact our care team using the help bubble in the lower right corner of our website or by going to care.sawgrassink.com. An agent can walk you through more troubleshooting steps with you and get you up and printing again.


