One of the most heart stopping moments in sublimation is when you remove the sublimation paper after pressing and see the final result. There is nothing more heart dropping than when the results were not what you expected! Don’t worry – we have some tips to get to the bottom of the issue!
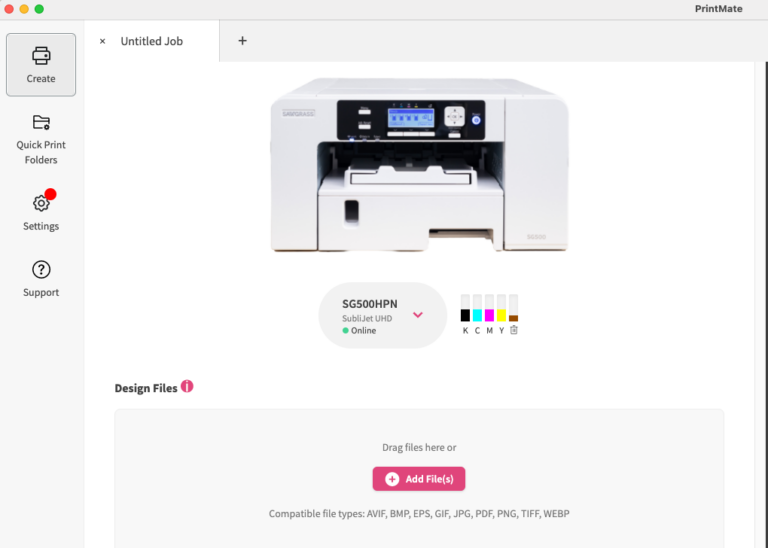
Whenever you have color issues, the first place to start is with a nozzle check. You want to isolate as quickly as possible whether the issue starts with the sublimation printer, or whether it falls somewhere else. A nozzle check will show you whether missing nozzles are your culprit. Nozzle checks can be printed from your Devices tab in your Sawgrass Print Utility Settings. Just select your printer on the Devices tab, and then click on the printer utilities. You’ll then click on the nozzle check icon to print it. Just a note, since the nozzle check will not get pressed, you can use regular copy paper instead of sublimation transfer paper.
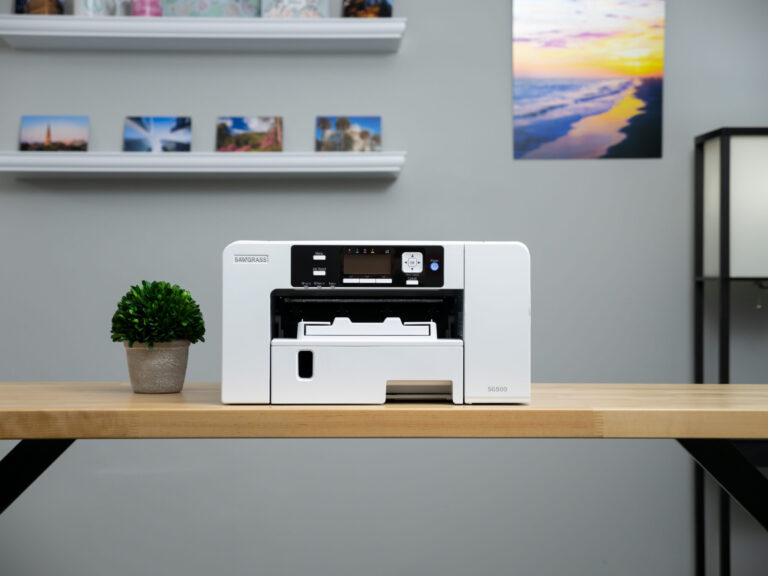
You can also print your nozzle check directly from your Sawgrass printer. Just click the menu button, use the arrow keys to get to printer features and hit ok, then navigate to list/test print and hit okay, and then hit okay on nozzle check pattern.
When your nozzle check is printed, what you’re looking for is breaks, or areas where the lines are missing. What you should be seeing is a roughly equal number of boxes for each of the four colors. If you see any gaps, whether it be one missing box or multiple boxes missing for a color, that would show clogged nozzles.
If your nozzle check has misses, which we call breaks, you’ll do a head clean. You can find this in the same areas where you found the nozzle check in both PrintMate and on the printer. You only need to clean the side of the head that has the breaks; if this issue is black or cyan, you only clean those channels. If you only have an issue with yellow or magenta, you only clean those channels. Once the clean finishes, we suggest running one more and then doing another nozzle check. If the nozzle check is now good, your issue should be resolved, and you can return to printing! If you are still missing boxes on the nozzle check, this is a good time to reach out to us at care.sawgrassink.com. We have several other steps we can take to assist you with those clogged nozzles!
But what if you have color issues and your nozzle check is good?
There are a few things you can check that are easy fixes:
- Are you using the Sawgrass Print Utility? You should never be printing straight to your SG500 or SG1000. You should be sending your files to our print utility, or our legacy print management tool. One of the main benefits of using our print management tools is that we have created color profiles for every combination of settings you may use. That way, you are getting consistent, and accurate, colors every time.
- Are you using a quality sublimation blank? The best place to start when purchasing supplies is a certified dealer. You can use the dealer locator at sawgrassink.com. You want to make sure that your blanks are intended for sublimation. If you are sublimating onto fabric, a high polyester count is important. Another thing to remember is the substrate can impact the colors you are getting. If you print on a blank that is a color, like say a gray t-shirt, your colors will be impacted by the shirt color. That would make faces a bit more green or gray. We often hear comments about colors being muted on frosted glass, this is because of the frosted glass. You will get colors that are more washed out because of the transparency of the glass.
- Check your heat press. Are the time, temperature, and pressure that you are using correct? We’ll include a heat press setting chart with this article for you to use for reference. You’ll also see one soon in the Sawgrass Print Utility for quick reference. While these are general recommendations, the best place to look for settings for your specific product blank. These are often found in the product listing on your dealer’s site. Slightly adjusting any of the three can impact color.
- If the issue is that your color is inconsistent, the press is most likely the culprit. As a test, use some 100% polyester fabric and do a press that takes up most of the press area. Are there any spots where the colors are faded or aren’t pressing fully? That could indicate that area of the press isn’t reaching the correct temperature.
- Sometimes, the issue is the artwork. Is the image high quality? If you print the image on a standard printer, are you colors similar to what you are getting after pressing your image printed on your Sawgrass printer? If so, it may be the colors used. This would be a time to play with the color sliders or even spot color functions in the Sawgrass Print Utility. You can find blogs on these features here on our site.
If none of these suggestions improve your color output, it’s time to reach out to the Sawgrass Care Team. Our support team will be glad to assist whether that be doing a remote session where they observe your screen to check settings or getting your design file and testing the results here to see what suggestions we have. If you go to care.sawgrassink.com, you’ll find other tips on color output and can start a ticket or chat with our team!


