Selling Tips: Making the Most of your MarketMate Store
One of our favorite new tools in the Sawgrass Exchange is MarketMate. Integrated into the same platform as DesignMate, it allows you to sell products that you create in a digital marketplace.
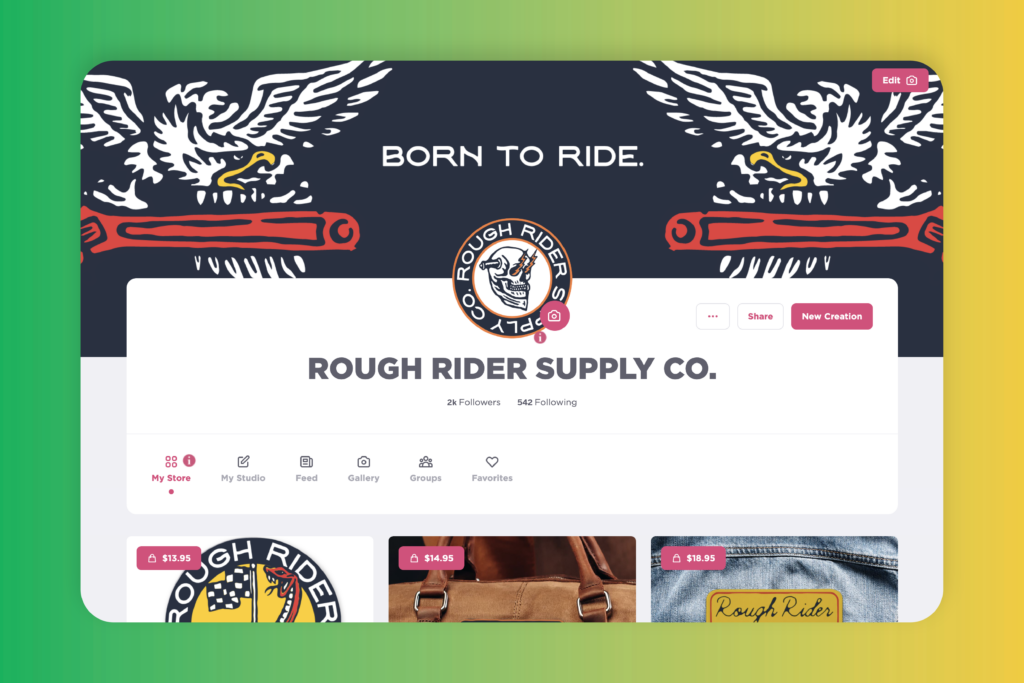
One of our favorite new tools in the Sawgrass Exchange is MarketMate. Integrated into the same platform as DesignMate, it allows you to sell products that you create in a digital marketplace. No website or outside selling platform needed. You just add your products to your store, share the links with your customers, they purchase it, and then the order comes back to you for production. Sawgrass handles the sales portion and deposits your payment as the seller and producer into your account. It’s as easy as that.
Let’s take a look at some features we’ve added to help you make your product look it’s best in your digital storefront. Once you’ve created your design, you’ll hit continue to bring it into your product’s publishing page. This is where you will control how your product will be presented to your customers.
First, let’s add a product name. Make it descriptive so your customers are clear on exactly what you are selling. We recommend pairing a design, collection, or theme name with the blank product itself.
Now you will need a product description. This your chance to pitch your product to your customer. Be creative! You can add funny taglines or a descriptive paragraph about the product and your design. The more the customer feels connected to you and your product, the more likely they are to add it to their cart. Make sure that you’re talking about the product the design will be pressed on to and the design itself.
Speaking of fun, now it’s time to add a feature photo. Under the main product image, select Create a Look to view the photo gallery available for that product. Click the photo you would like to add your design to. Your design will automatically be generated, and your new product mockup will now be available in your gallery. Lifestyle images allow the customer to get a better idea of how the design will look on the product, and how it will look in their home. Return to the Create a Look button to add as many photos as you would like. One you have your photo library complete, you may set your feature photo by hovering on the thumbnail you would like featured and select Feature.
One of our favorite features of MarketMate is our customization tool. With each product, you can control how much or how little a customer can customize or personalize that product.
If you do not want a user to be able to edit the product, then leave the Is Customizable option unchecked. If you would like to offer customization to your customers, check the Is Customizable button. To control what your customers can change, select the Lock Layers button on the main product image. Within the Lock Layers panel, you have the ability to control which elements can or cannot be customizable by your customers. For example, if you want to allow customer to change what the text says but you don’t them to be able to change where it is on your design, then you can lock Move, Rotate and Resize. For the layers you would like to lock, simply click on the lock icon.
When customers pull up a product to purchase, they can add it to the cart or hit customize. They’ll only be able to edit those portions of the design that you enabled for customization. Personalized products are one of the big benefits of sublimation. When you design, think about how a customer can make the product their own, whether that be adding a name, changing colors to the ones they prefer, or even adding their own photo.
Another feature on the product detail page is the ability to set your price. The default price shown is the minimum price allowed for that product. You can increase your product’s price by sliding the slider to the right. As you slide, you should see your projected profit increase in real time. When determining the price think of factors such as demand for the theme of the design and the level of detail in the design.
Finally, if you have a product that you only want certain customers to see and then you can make this product Private by clicking the Private Product check mark. An example of this would be if you were doing designs from individual students in a school class. You’d give the link to their product to their parents, but no one else will be able to see the product. If you would like to make your product private, then click Private Product. If you would like to keep your product public, then leave the box unchecked.
Once you are happy with your product information, photo library, customization, and pricing, you are now ready to publish your product to your store by clicking on Post for Sale to add the product to your Store.